Why children love it
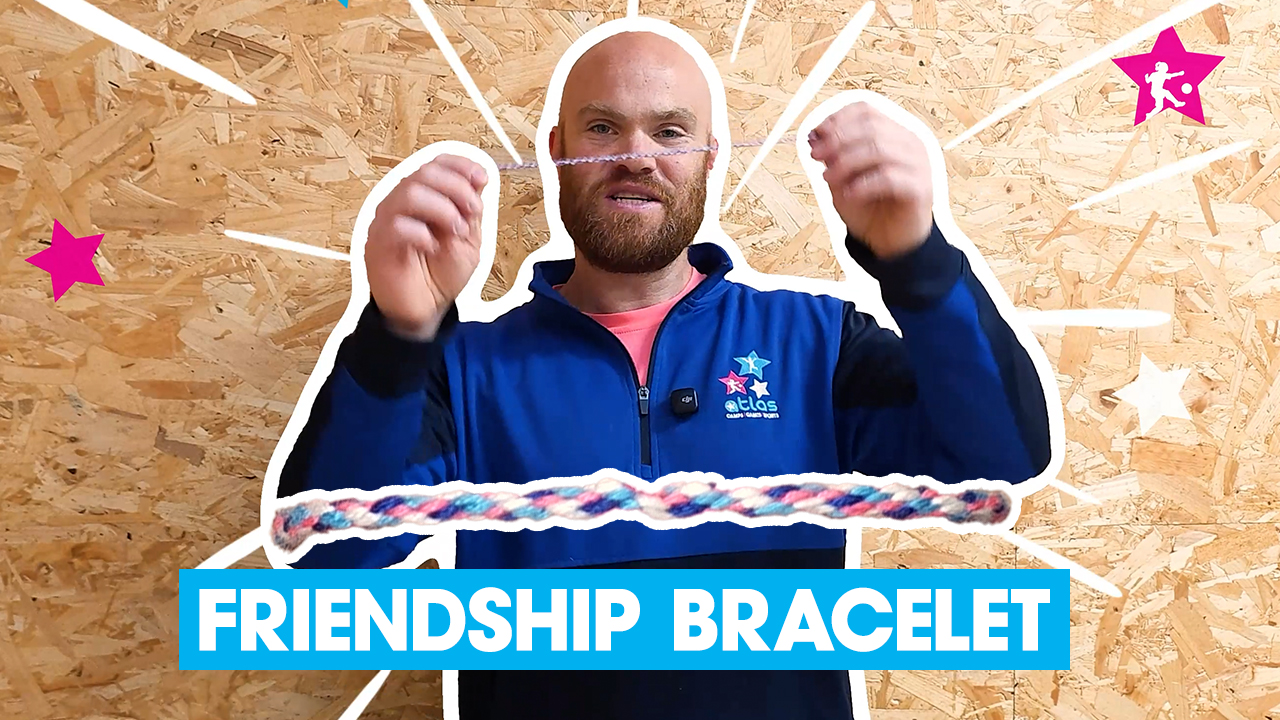
Friendship Bracelet Making is a lovely creative activity for children who enjoy designing, making and sharing something personal. It is low-cost, calming and gives children plenty of room to explore colours, patterns and their own style.
What you'll need
Already got these bits? You’re all set.
Some product links may be affiliate links. Atlas may earn a small commission if you choose to buy through them, at no extra cost to you.
Safety notes
Supervise scissors and small craft materials.
Read the video transcript
Hi, everybody. It's Coach Ellie. Come with me today to make a paper plate turtle.
First things first, pause here to make sure you have all the materials you'll need to begin. Start by cutting your tissue paper into squares. From there, spread your PVA glue on the plate, then stick the squares all over. An Atlas tip is to overlap the squares so the whole space is covered, leaving no gaps. Then trim away the excess paper from the edges.
Now trace around your thumb for the head, your fingers four times for the legs. And your pinky finger once for the tail. And then cut them out.
Now we can apply the PVA glue to our head, the four legs and the tail, ready to stick underneath on the paper plate.
Now the final touches to make this turtle come to life is going to be sticking the two googly eyes on the head and adding a lovely smile. Using a black pencil and ta-daa the paper plate turtle is complete.
Hope you had fun making the paper plate turtles and we'll see you next time.


 Preview
Indoor
Preview
Indoor
